
Nüance-R makes it easy for you to connect your documents to GitHub. [@bryan_happy_2019] Take a look at this course!
Create a GitHub account
Create an account on https://github.com, it’s free!
Or, if you already have one, go to the next step.
Create a GitHub repository
Make sure you are logged in on GitHub.
Click on the green “New repository” button. Or, if you are on your own profile page, click on “Repositories”, then click on the green “New” button.
How to fill this in:
- Repository name: myrepo (or whatever you wish, we’ll delete this soon anyway).
- Description: “testing my setup” (or whatever, but some text is good for the README).
- Public.
- YES Initialize this repository with a README.
- For everything else, just accept the default.
Click on the green button “Create repository.”
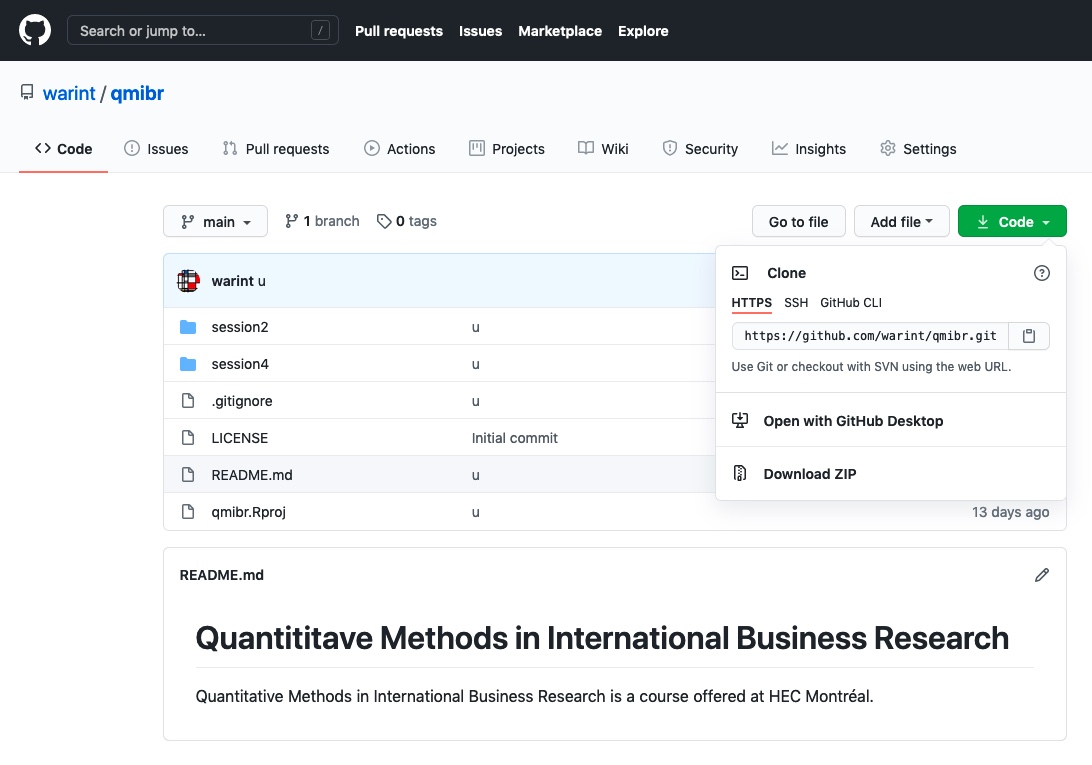
Copy the HTTPS clone URL to your clipboard via the green “Clone or Download” button.
Connect GitHub to RStudio
If you are using RStudio on your local computer, then you will need to make you have these requirements: https://support.rstudio.com/hc/en-us/articles/200532077-Version-Control-with-Git-and-SVN.
If you are using RStudio Server (the best!) or if you have installed the aforementioned software, then you can apply the following steps:
In RStudio, start a new Project, by clicking successively on the following menus as they show up:
File>New Project>Version Control>Git.In “Repository URL”, paste the URL of your new GitHub repository. It will be something like this https://github.com/jennybc/myrepo.git.
Accept the default project directory name, e.g. myrepo, which coincides with the GitHub repo name. Take charge of – or at least notice! – where the Project will be saved locally. A common rookie mistake is to have no idea where you are saving files or what your working directory is. Pay attention. Be intentional.
Click “Create Project”.
You should find yourself in a new local RStudio Project that represents the new test repo we just created on GitHub. This should download the README.md file from GitHub. Look in RStudio’s file browser pane for the README.md file.
Change, Save, Commit
From RStudio, modify the README.md file, e.g., by adding the line “This is a line from RStudio”. Save your changes.
Commit these changes to your local repo. How?
From RStudio:
Click the “Git” tab in upper right pane. Check “Staged” box for README.md. If you’re not already in the Git pop-up, click “Commit”. Type a message in “Commit message”, such as “Commit from RStudio”. Click “Commit”.
Push to GitHub
Click the green “Push” button to send your local changes to GitHub. If you are challenged for username and password, provide them (but see below). You should see some message along these lines.
Confirm the local change propagated to the GitHub remote. Go to the browser on your new GitHub repo page.
Refresh.
You should see the new “This is a line from RStudio” in the README.
If you click on “commits”, you should see one with the message “Commit from RStudio”.
If you have made it this far, you are DONE with set up.